Guide · 30 October 2026
Get started with your gimbal
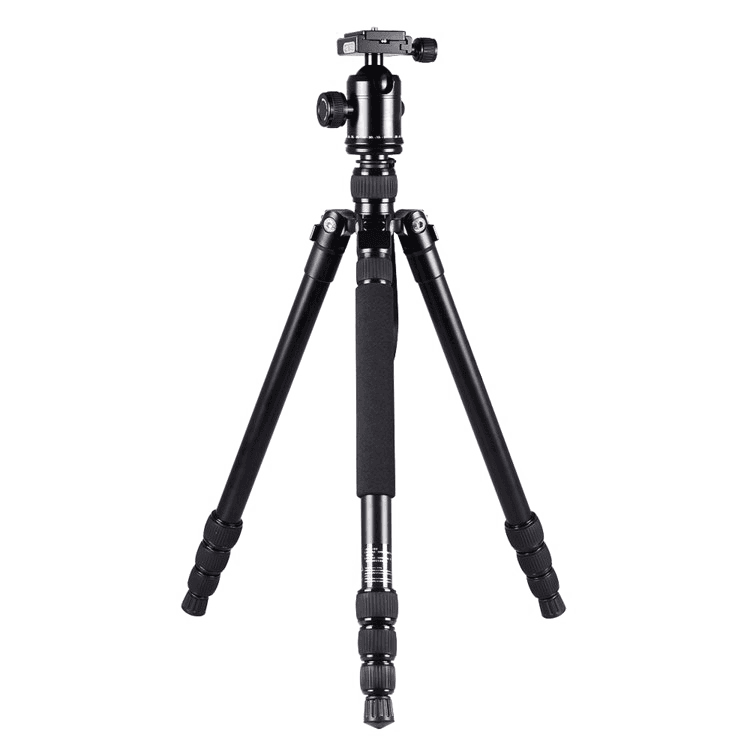 Tripod
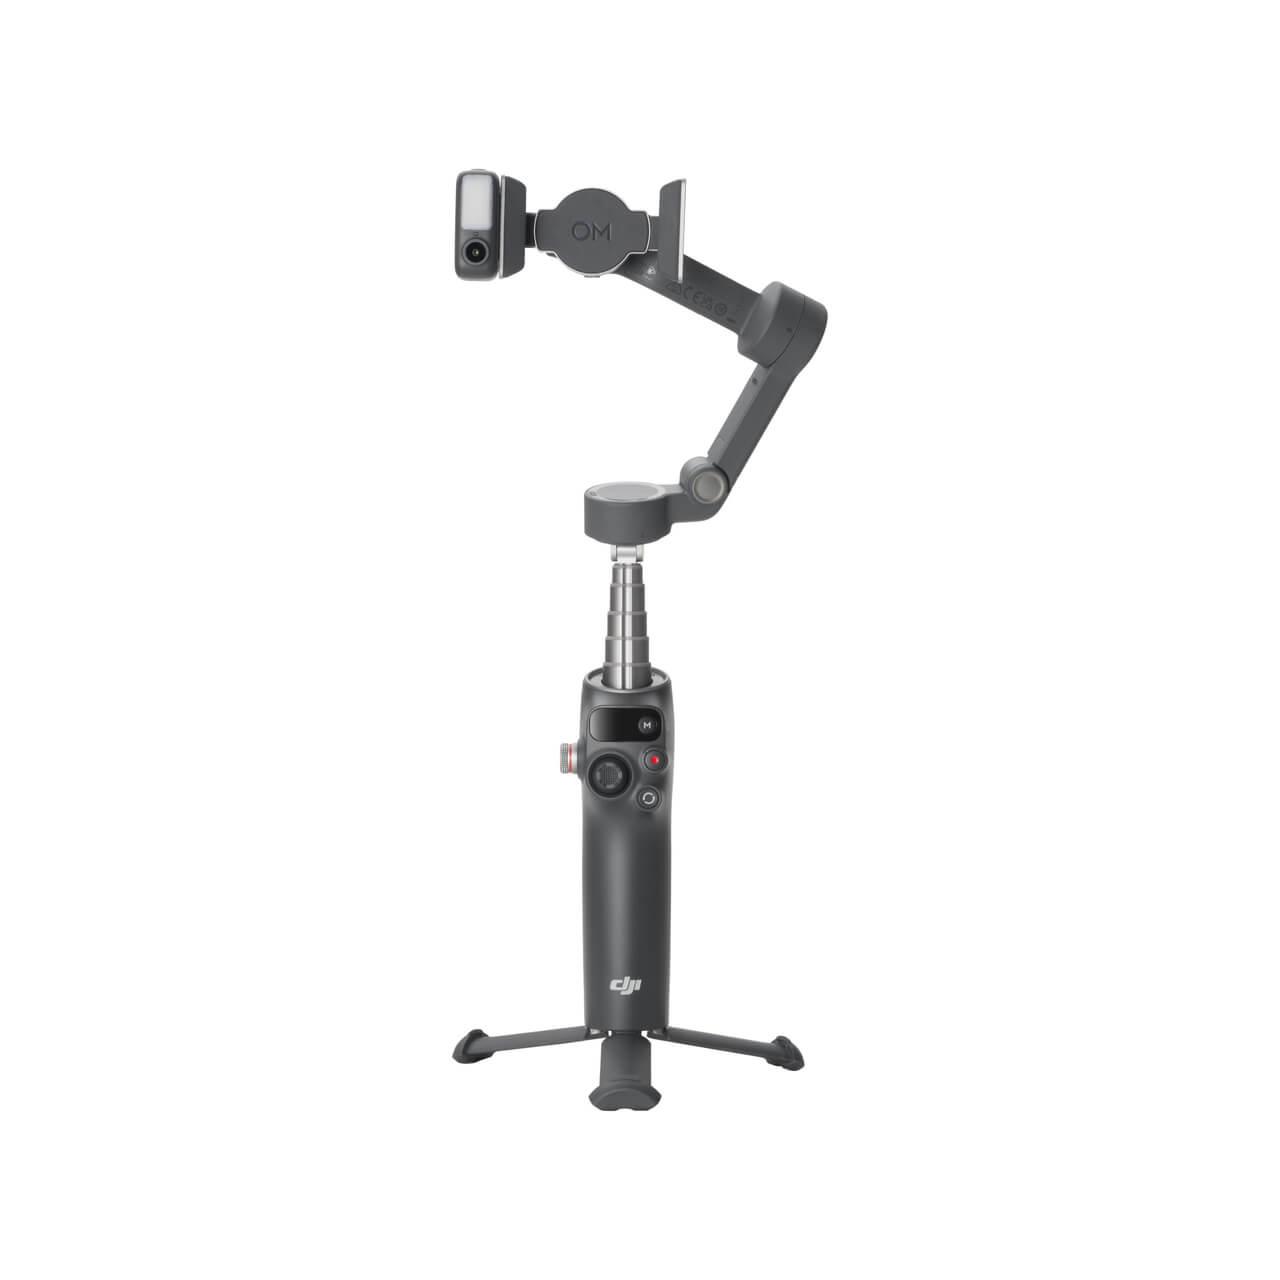 Your gimbal
Step 1 of 9 · Equipment
Get your gear ready
To use Reeve's automatic tracking, you'll need a standard tripod and a compatible gimbal (see the full list in the next step).
The gimbal mounts directly onto your tripod and allows your iPhone to rotate automatically, following surfers even when they move outside the original frame.
DJI Osmo Mobile
- Osmo Mobile 8
- Osmo Mobile 8P
- Osmo Mobile 7P
- Osmo Mobile 7
- Osmo Mobile 6
- Osmo Mobile SE
- OM 5
- OM 4
- OM 4 SE
- Osmo Mobile 3
DJI RS
- RS 3 Mini
- RS 5
- RS 4 Mini
- RS 4 Pro
- RS 4
- RS 3 Pro
- RS 3
- RS 2
- RSC 2
Insta360 Flow
- Flow 2 Pro
- Flow Pro
Tested at the beachSee them in Equipment ›Step 2 of 9 · Gimbals
Supported gimbals
Reeve supports a wide range of DJI gimbals, from the Osmo Mobile 3 to the latest RS models, as well as the Insta360 Flow Pro and Flow 2 Pro.
So far, I've only tested the Osmo Mobile 8 and RS 3 Mini in real-world conditions at the beach. The other models use the same communication protocols, so they should work in the same way.
If you own one of these gimbals, I'd love to hear how it works for you! Whether everything runs smoothly or you encounter an issue, don't hesitate to reach out.
Step 3 of 9 · Connection
Connect your gimbal
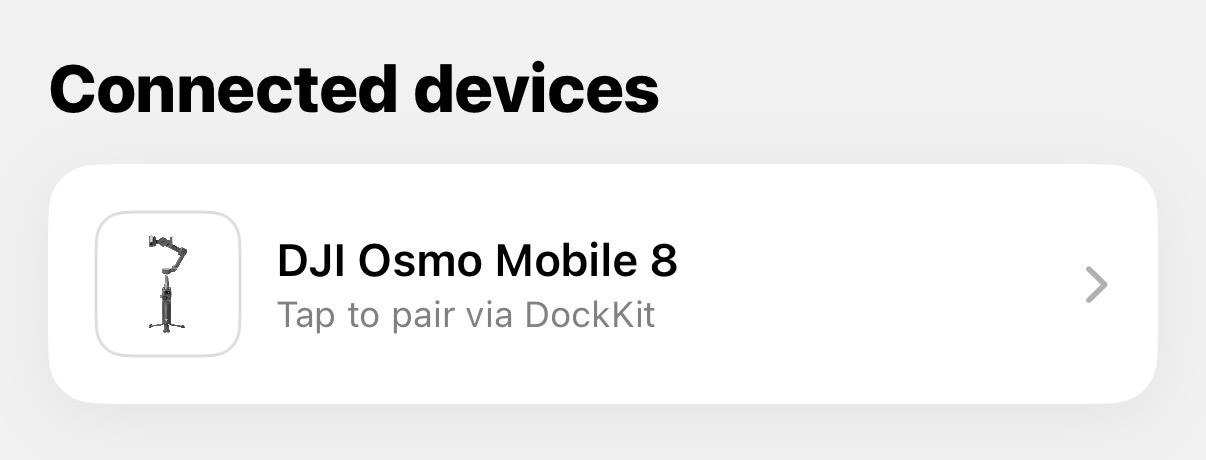
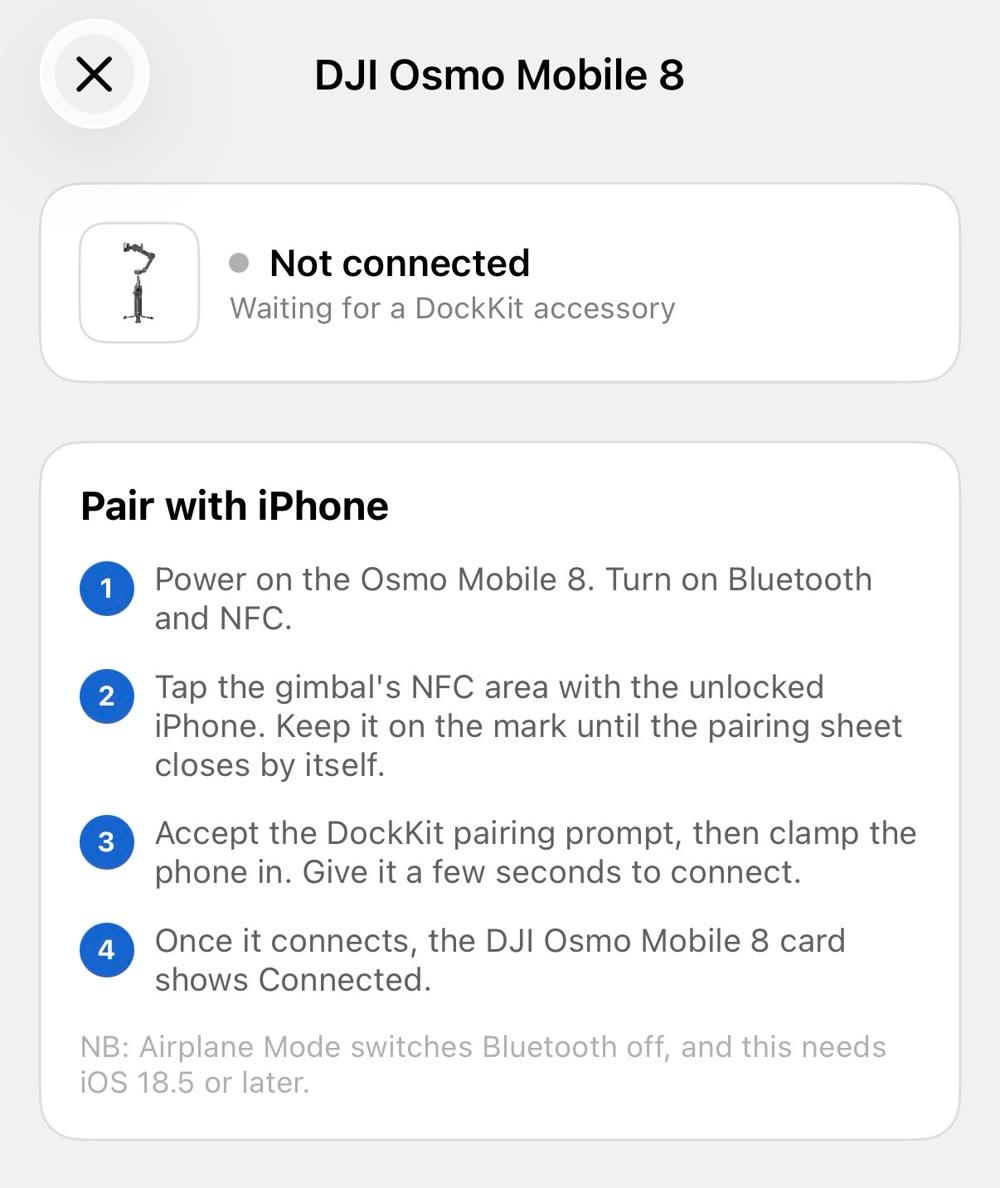
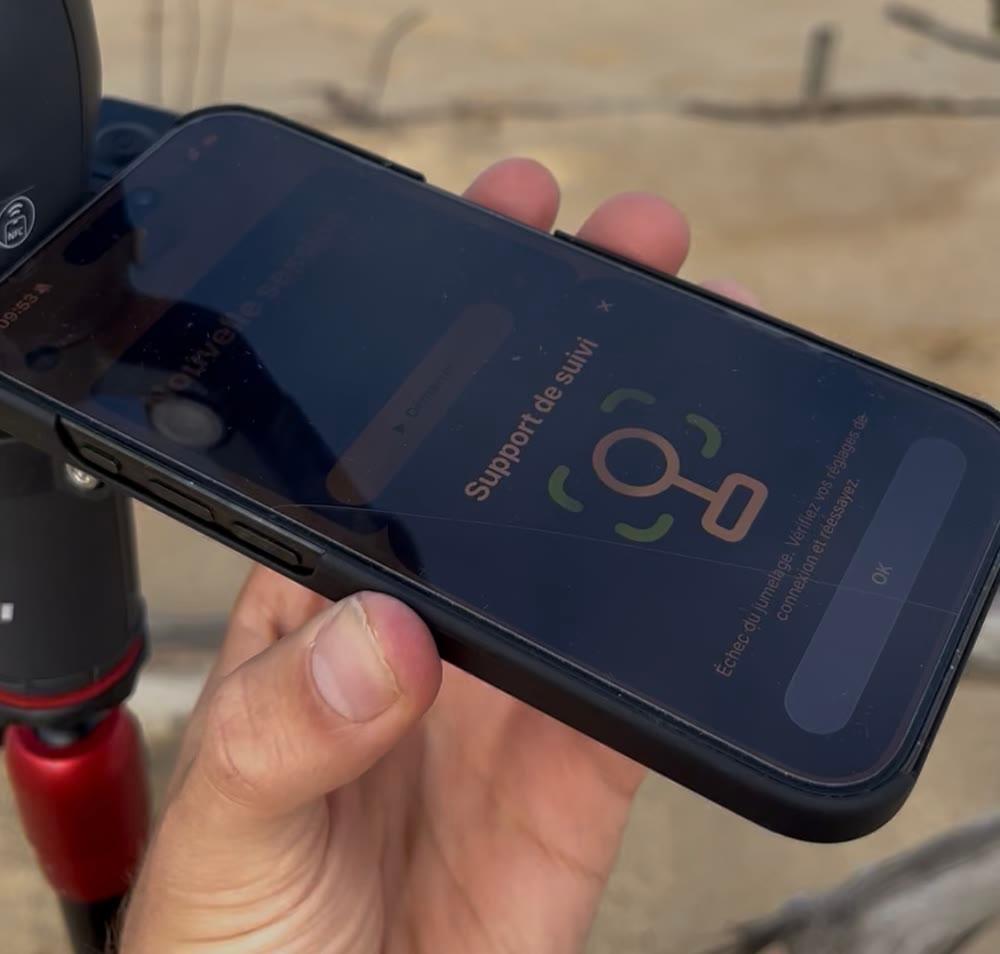
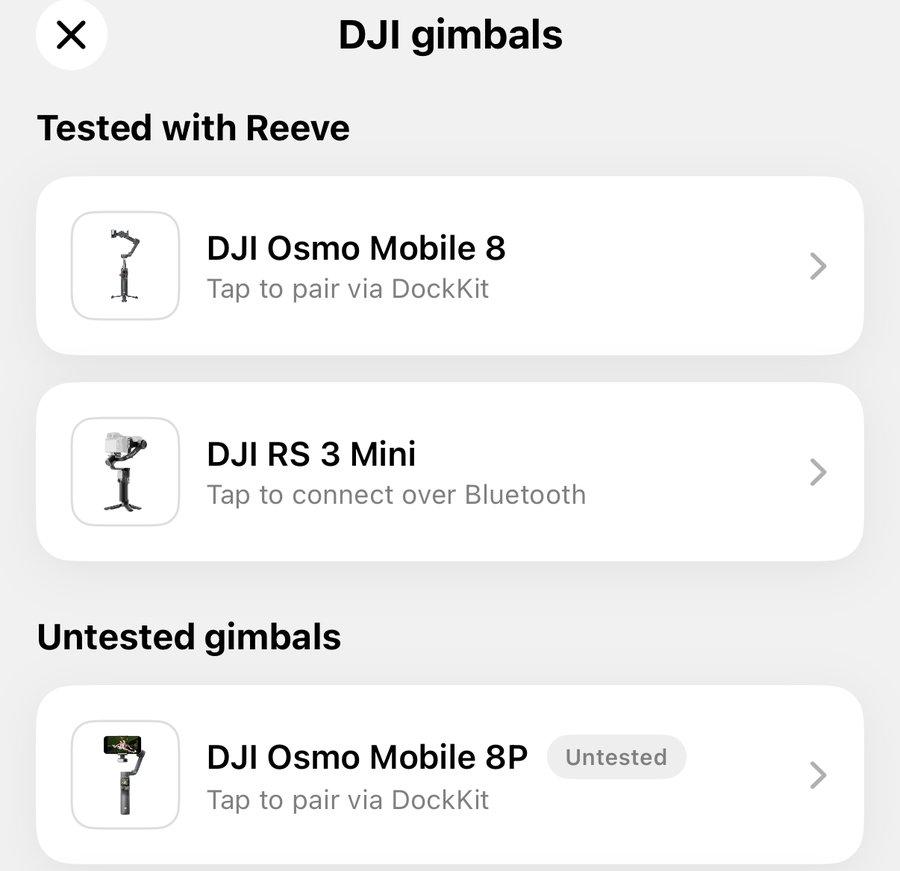
From Reeve's Home screen, tap “Connect your gimbal” and select your model. Reeve will guide you through the setup process.
• Osmo Mobile 8, 8P, and Insta360 Flow: These connect directly through iOS. For the Osmo Mobile models, simply hold your unlocked iPhone near the NFC symbol on the gimbal and accept the connection.
• Other DJI gimbals: These connect via Bluetooth. Turn on your gimbal, make sure it's already been activated through DJI Mimo or Ronin, and close those apps on any other devices. Then start the connection from Reeve.
Step 4 of 9 · Test
Make sure everything works
For gimbals that haven't been tested at the beach yet, Reeve runs a quick compatibility test the first time you connect.
Mount your iPhone on the gimbal, place it on a table or tripod, and start the test.
The gimbal will make a few small movements to the right and left to check that it's responding correctly to Reeve's commands.
Once the test passes, you're ready to start filming!
Step 5 of 9 · Setup
Point your iPhone toward the peak
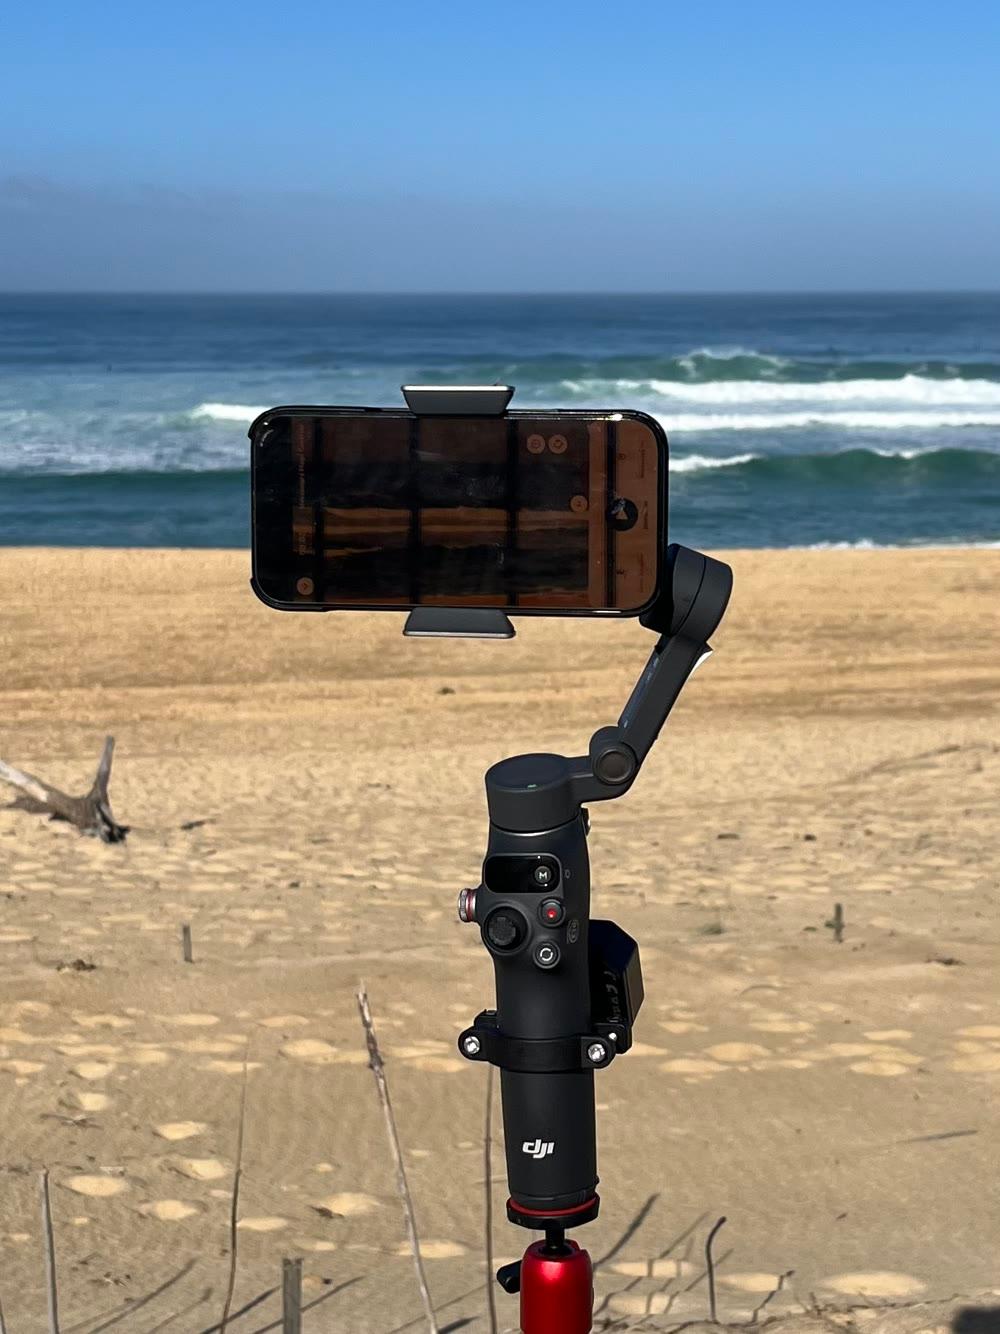
How to film yourself surfing without a cameraman ›Set up your tripod about 50–150 meters (165–490 feet) from the surf, at a height of around 1.5–2 meters (5–6.5 feet).
Point your iPhone toward the peak, where surfers are catching their waves.
This position will be the center of Reeve's automatic scanning area, so make sure it's aimed at the part of the lineup you want to cover.
Step 6 of 9 · Recording
Start your session
Once you start recording, Reeve automatically takes control of your gimbal.
Your iPhone scans the surf spot from side to side, looking for surfers. As soon as someone catches a wave, Reeve automatically follows them throughout their ride.
When the wave ends, your iPhone returns to the center and starts looking for the next surfer.
Step 7 of 9 · Settings
Fine-tune the automatic scanning
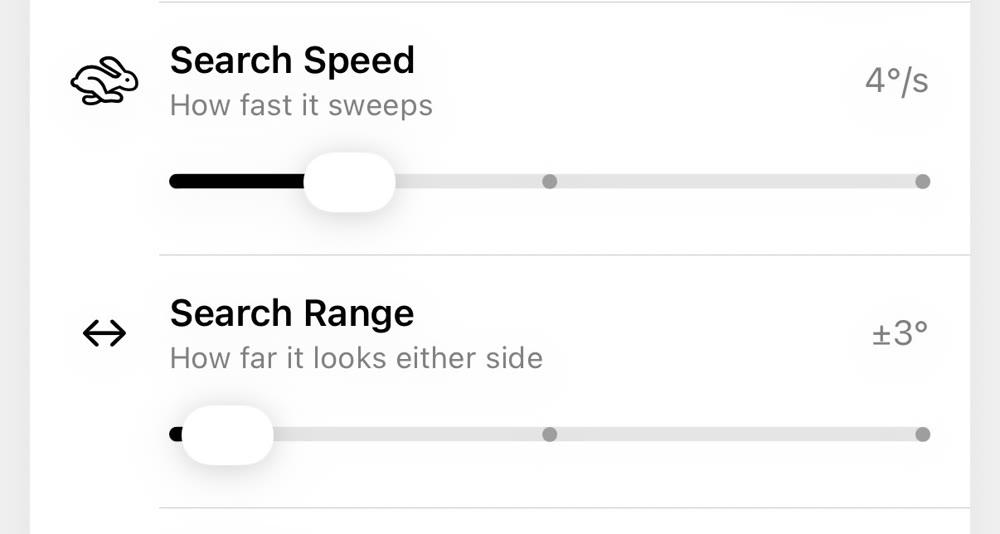
In your session settings, you can adjust how your gimbal moves using two options:
• Search Speed: Controls how quickly your iPhone scans the surf spot.
• Search Range: Controls how far the gimbal rotates to either side of the center position.
Quick tip: The more you zoom in, the slower your scanning speed should be. You may also want to increase the search range slightly to cover the entire surf area.
Step 8 of 9 · Analysis
Review and analyze your waves
Once your session is over, you can find all the waves Reeve detected.
Group waves by surfer, hide waves that weren't ridden, and easily find your own rides.
Select any wave to analyze it, add notes, adjust the framing, or share it with your friends.
Step 9 of 9 · Cropping
Crop your clips in seconds
Select a wave and tap “Crop”.
Choose your preferred aspect ratio (9:16, 1:1, 4:5, or 16:9), then adjust the zoom.
Reeve automatically crops the video around the tracked surfer, turning a wide shot from the beach into a clip that's ready to share on social media.
And if you're not happy with the result, you can always adjust or undo the crop without affecting your original video.